The UK Hiker's Three-Season Layering Checklist for Changeable Weather
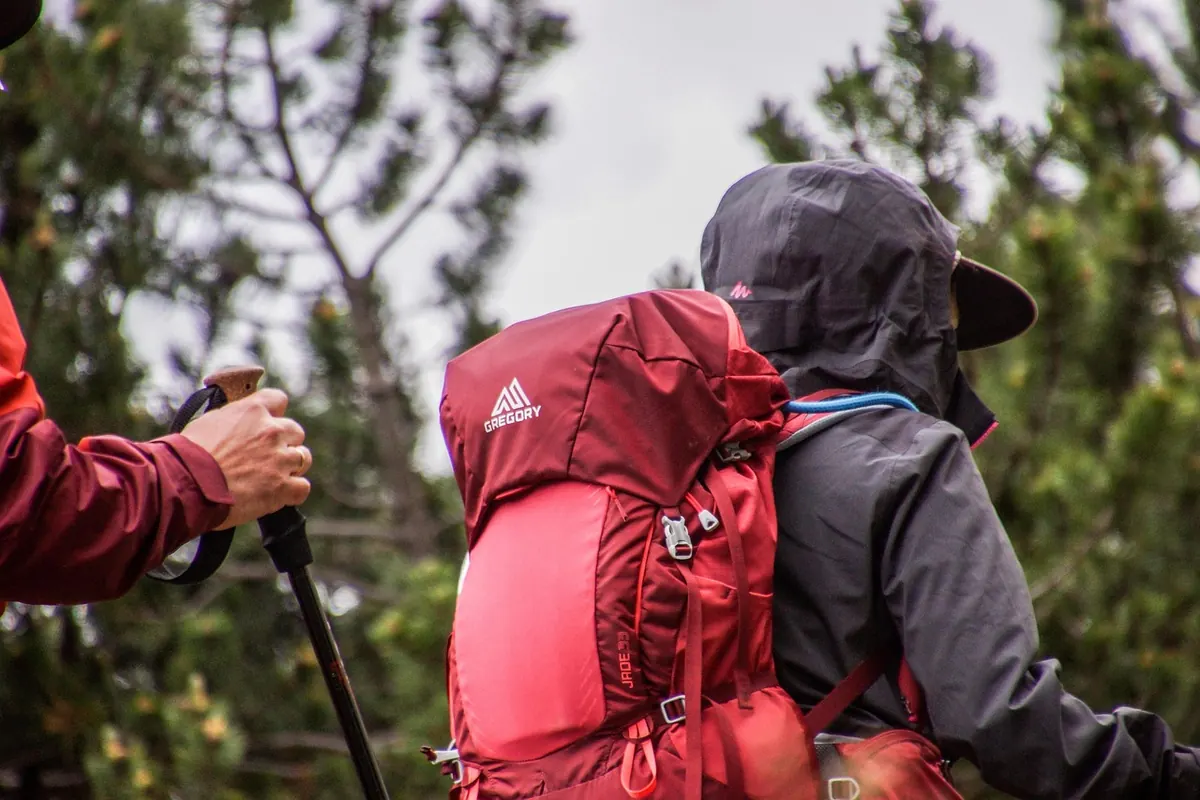
British hill weather does not ask whether you want to be warm. It asks whether you can be warm, then cool, then dry, then warm again, all inside two hours and one kilometre of ascent. Layering is how you answer. Not one magic jacket, but a small system you adjust in ten-second bursts at a stile or a summit cairn, so you sweat less going up and shiver less coming down. Here is the three-season version — base, mid, outer and spares — with a checklist you can print, fold and keep at the top of your pack.
Three-season walking, as most UK guides and clubs mean it, runs roughly from March to October. No winter snowcraft, no ice axe, but plenty of weather that feels like February. The common mistake is planning for the temperature on the valley road. Wind at height, damp air, and the effort of the climb all change what your body actually feels.
Two ideas underpin everything below. First, you will get wet from the inside before you get wet from the outside — sweat is a bigger comfort problem than rain on most British days. Second, staying dry matters less than staying dry enough: a slightly damp shell over a dry base layer beats a soaked fleece under a perfect jacket. Everything in the checklist exists to manage those two facts.
A good base layer moves sweat away from your skin and dries quickly. That means synthetic or merino wool, close to the body without being tight, and never cotton. A cotton t-shirt holds moisture, goes cold and stays cold.
For three-season UK walking, two weights will cover most of the year: a light short-sleeve or vest for warm, high-sun days, and a light long-sleeve for everything else. Long sleeves are underrated. They keep the sun off, protect against midges and nettles, and leave one less gap at the wrist when the wind picks up.
A spare base layer earns its place even on a day walk. If you have been soaked by rain or by effort, changing into a dry top at the summit — out of the wind, behind a rock or a wall — resets the whole day. It also fixes the most common mistake in British hiking: pulling a shell straight over a damp fleece and then wondering why you feel cold an hour later.
Mid layers trap warm air, and they are the part of your kit you will swap most often. Two thin layers beat one thick one: they let you fine-tune, and they dry faster. Useful options:
Synthetic insulation copes far better than down with British damp. Down is warmer for its weight, but it loses most of its value once it gets wet, and in three-season conditions it usually gets wet eventually.
Look for a full zip, which is easier to vent, and a hood if you plan to stop high up. If your mid layer is so warm you can only wear it standing still, that is fine — but you also need something thinner for the ascent.
Your shell is a weather barrier, not a source of warmth. It needs to be genuinely waterproof and windproof, with taped seams, a hood you can adjust one-handed, and ventilation you will actually use. Pit zips and a two-way front zip are the difference between a jacket you wear all day and one you rip off after ten minutes.
In Britain the choice is usually between a full hardshell and a lighter windshell approach:
Carry a shell that packs small enough that you never hesitate to bring it. A waterproof that lives in the shed because it is bulky is a waterproof you will not have with you. Waterproof over-trousers belong in the same thinking: cheap ones that live in the pack beat expensive ones left at home.
Use this as a starting point, not a rulebook. Adjust for the forecast, the length of the day and how cold you run. A short evening walk needs a fraction of it; a full day on an exposed ridge in October needs all of it.
Layering is a habit more than a kit list. A few rules of thumb make it click.
One safety note worth holding on to: if someone you are walking with is shivering hard and becoming clumsy or confused, that is not a case of "they'll warm up in a minute". Get them out of the wind, into dry layers and into shelter, and treat it seriously.
Check the mountain forecast the night before and again in the morning — the Met Office mountain area forecasts and MWIS are the usual starting points for UK hills — then cross off anything the day genuinely does not need. A dry, breezy summer afternoon means fewer spares and a lighter pack. A grey October day with a westerly means the full list.
Get the layers roughly right and the rest of the day looks after itself. You will climb cooler, stop warmer, and come home with dry socks and no regrets. The system is inexpensive to build over a few seasons, and it never stops being useful.
Photo: rottonara / Pixabay
Previous Post
Trail Markers and Waymarking in the UK: A Beginner's Guide to Reading Them
Next Post
Walking Boots vs Trail Runners: Which Is Better for British Hill Paths?